今回は、コチラ↓
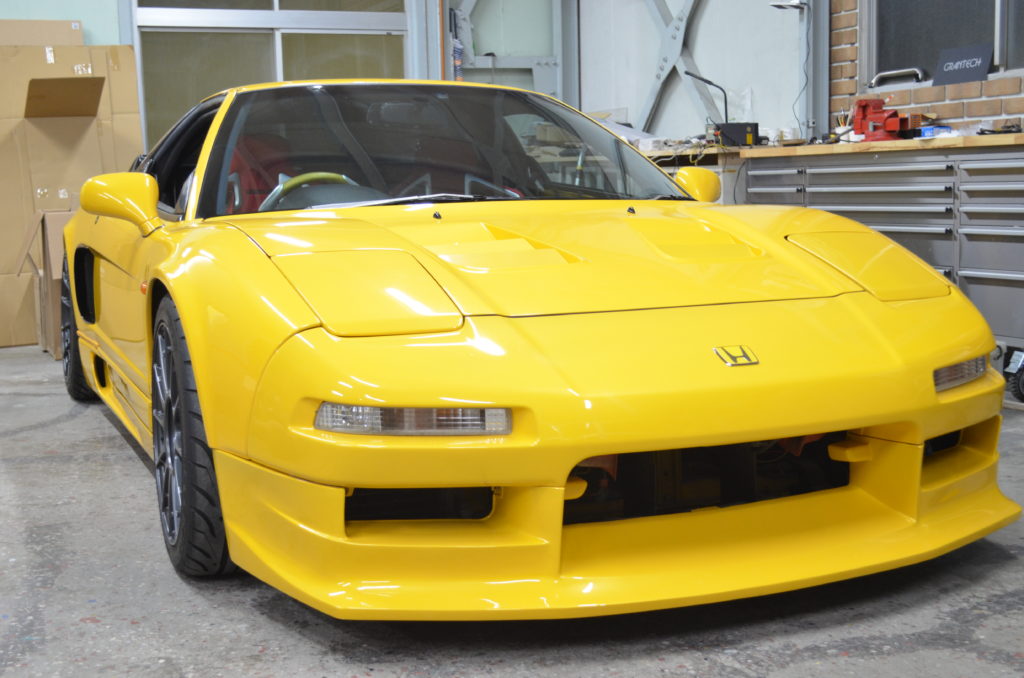
NSX!
先日の赤NSXと似た内容ですが、こちらは少しリーズナブルに仕上げていきます。
さっそく
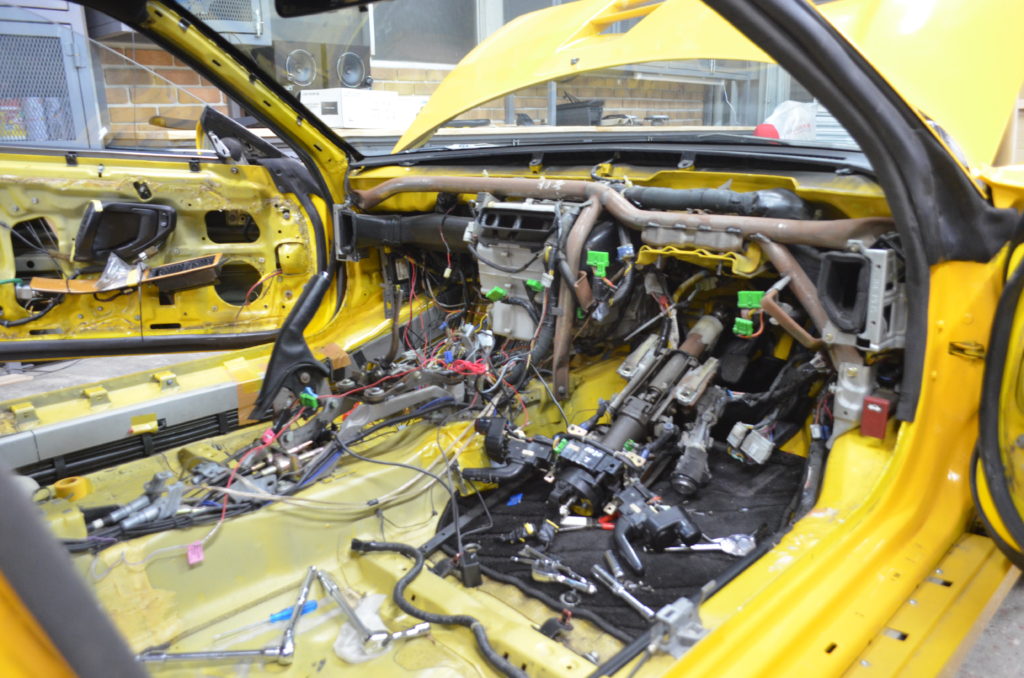
バラバラに!
内装パーツは張り替え業者様に送る為、まずはドアパネル等の加工から!
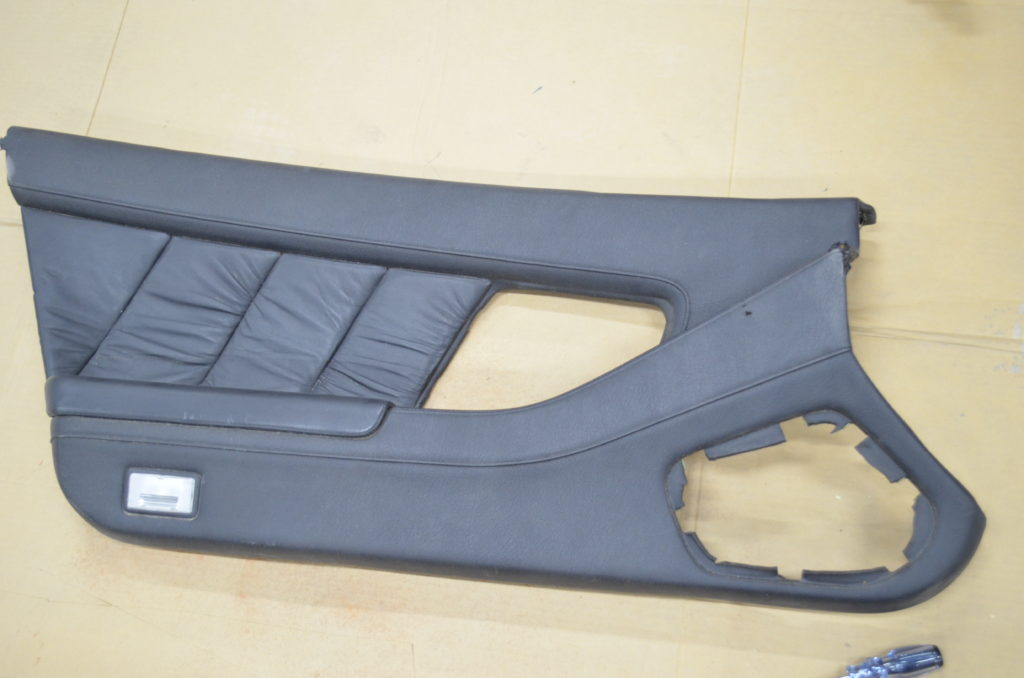
ノーマル状態。グリル部分がくり抜かれていた為純正風に作成します。
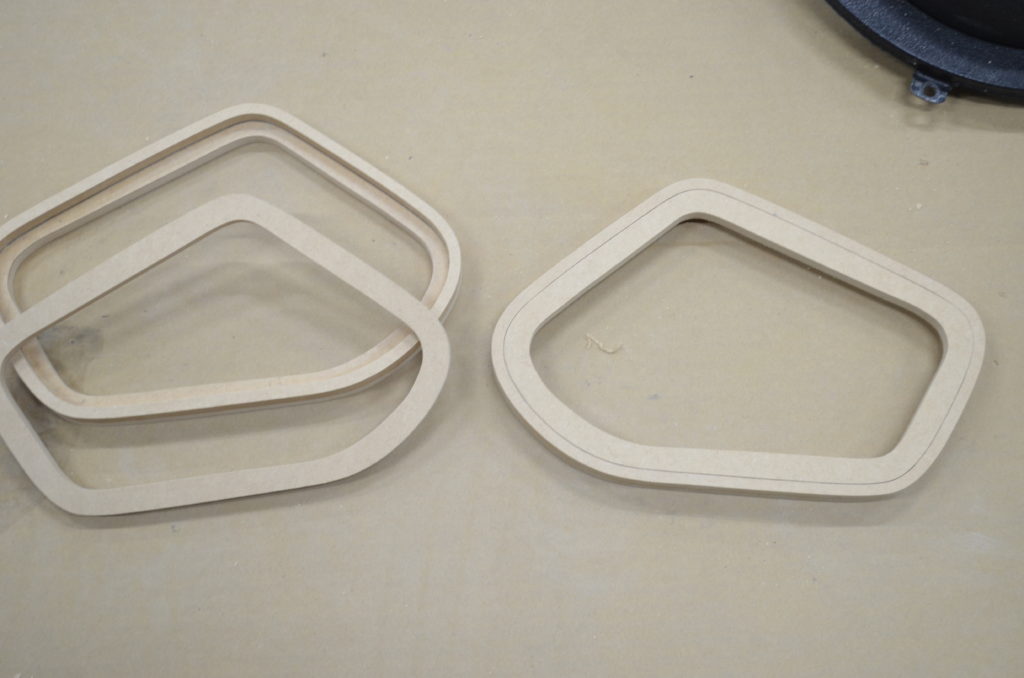
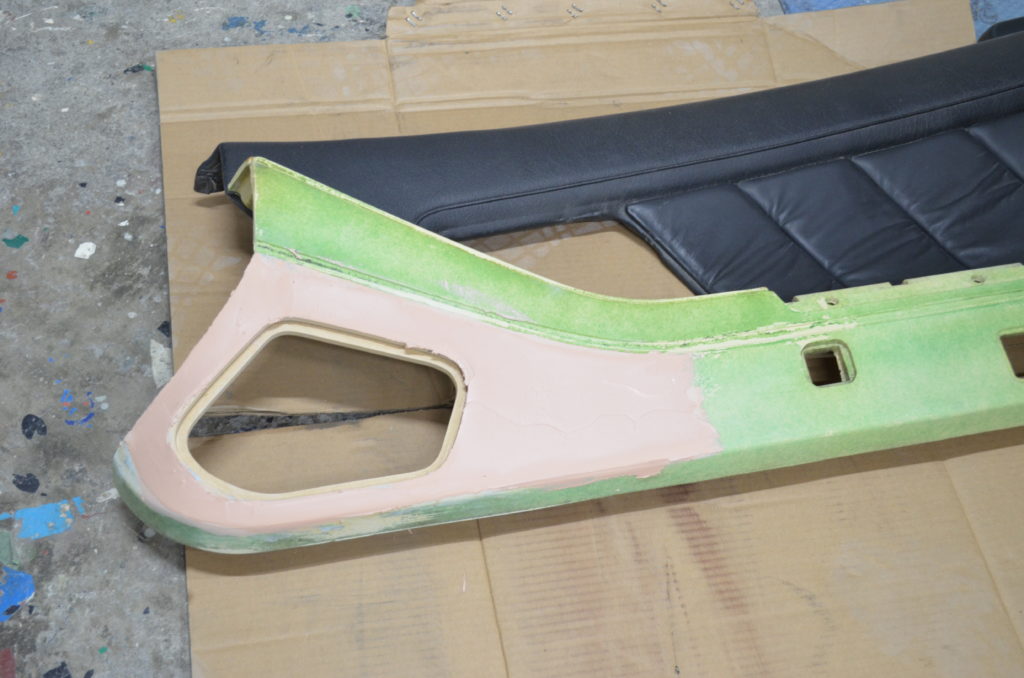
赤NSXと同じ方法で作っていきます!
仕上がり次第張り替えへ!GO!
お次は
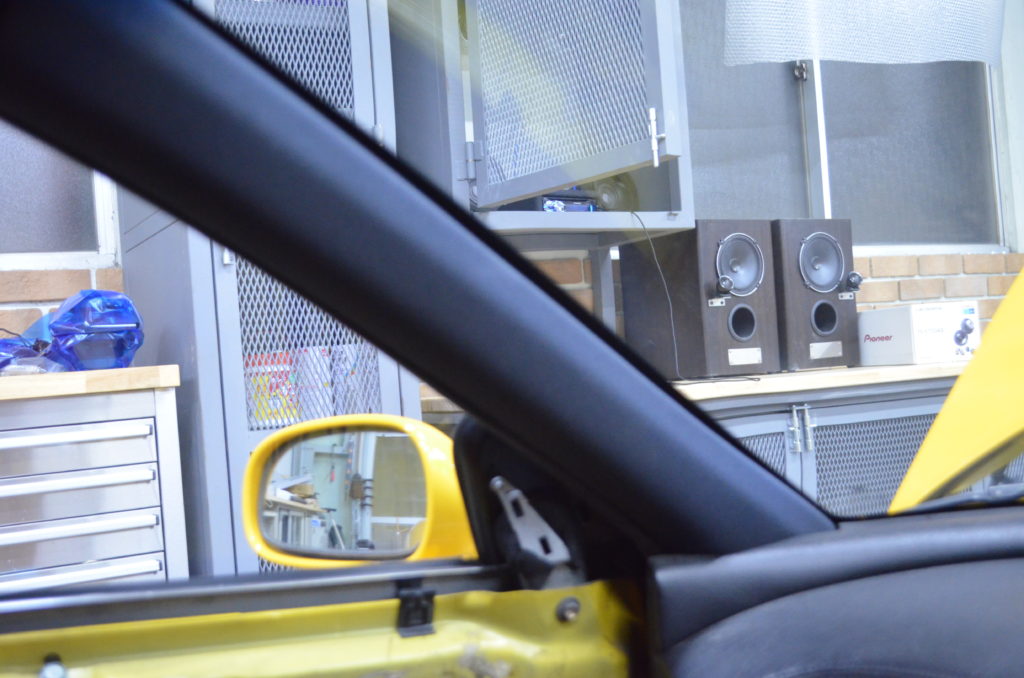
Aピラーへツィーターを埋め込み!
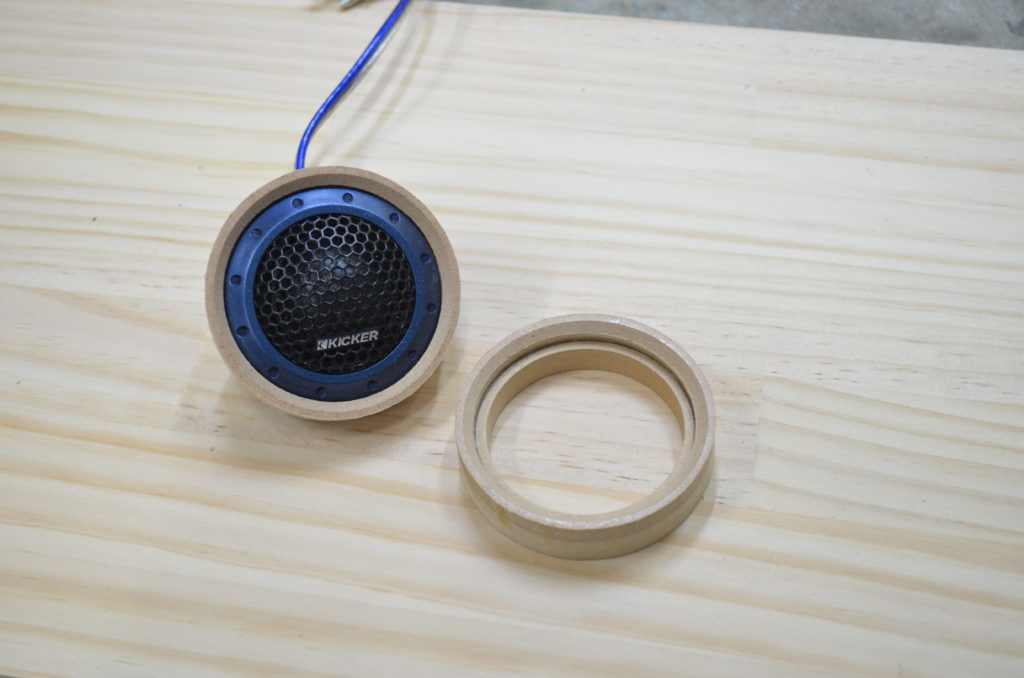
ワンオフでリングを作成

最適な角度が決まったらパテ盛り付け!
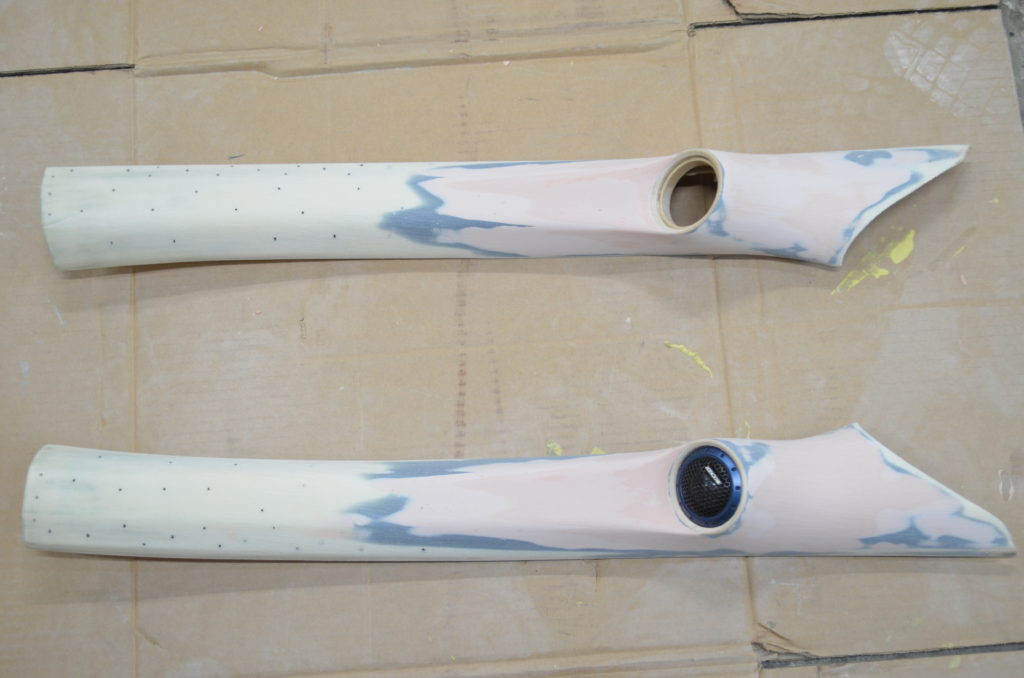
成形!
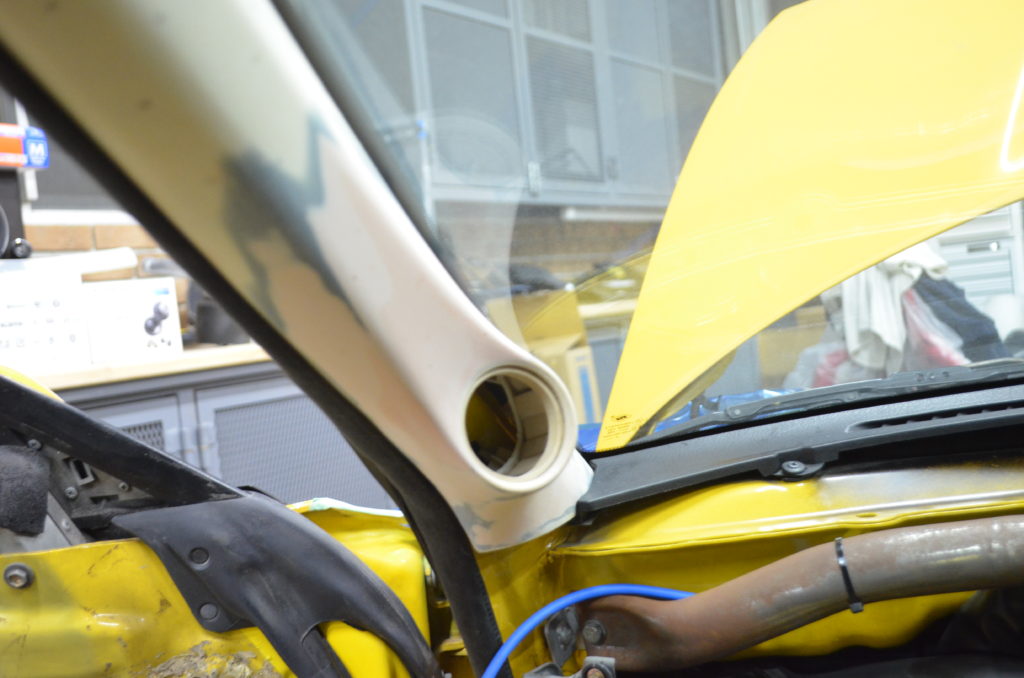
仮付け!
ダッシュボードがバックスキンになるので、Aピラーもバックスキンで仕上げます。
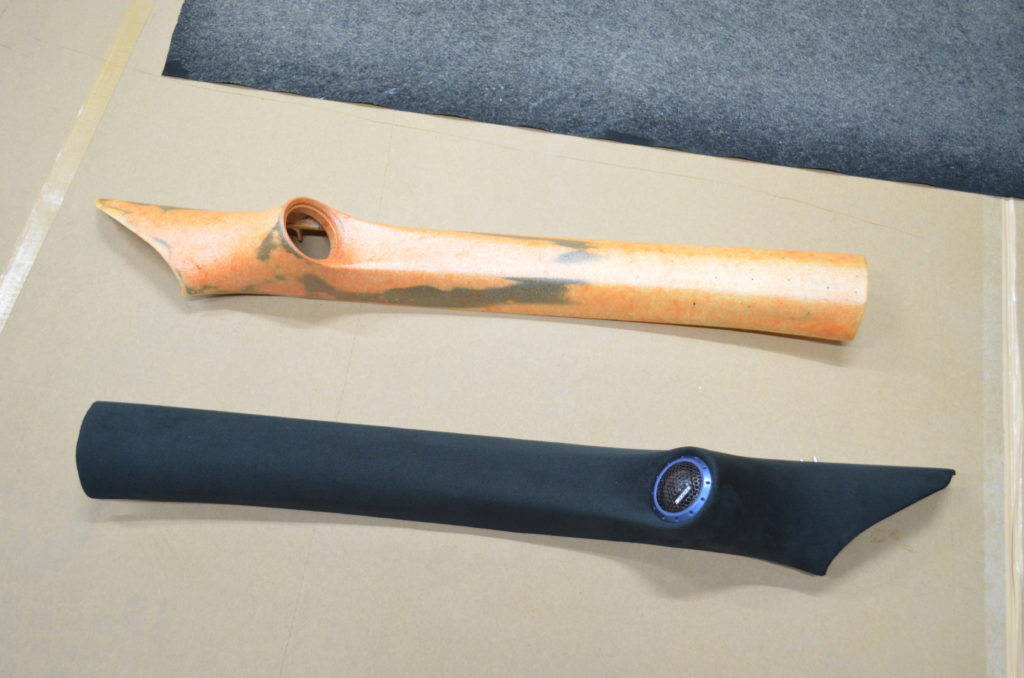
シンプルでいい感じですね!
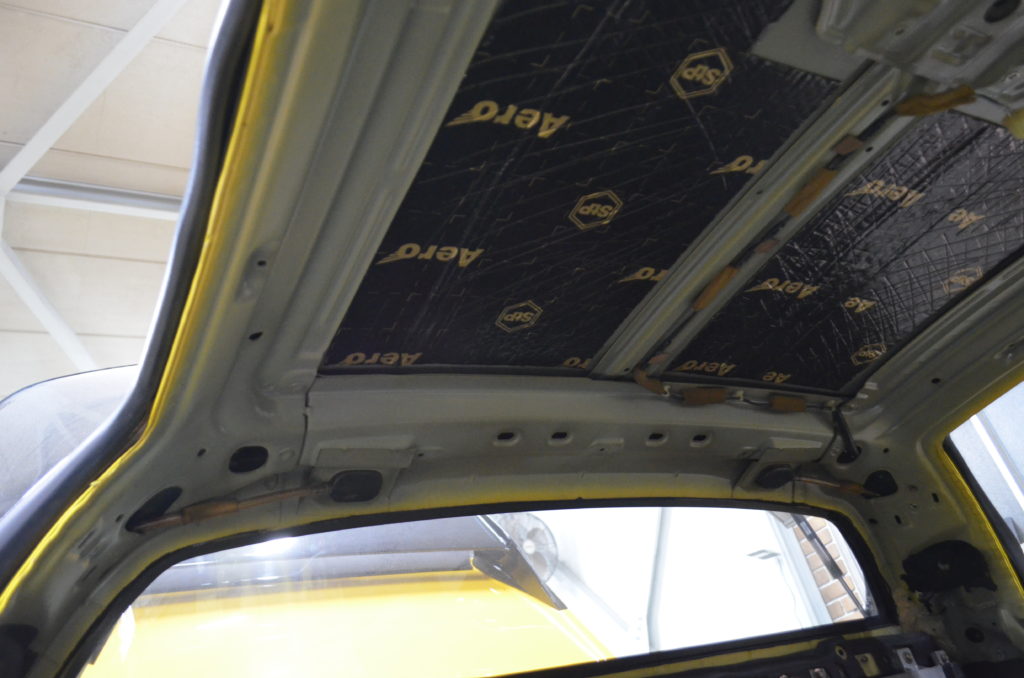
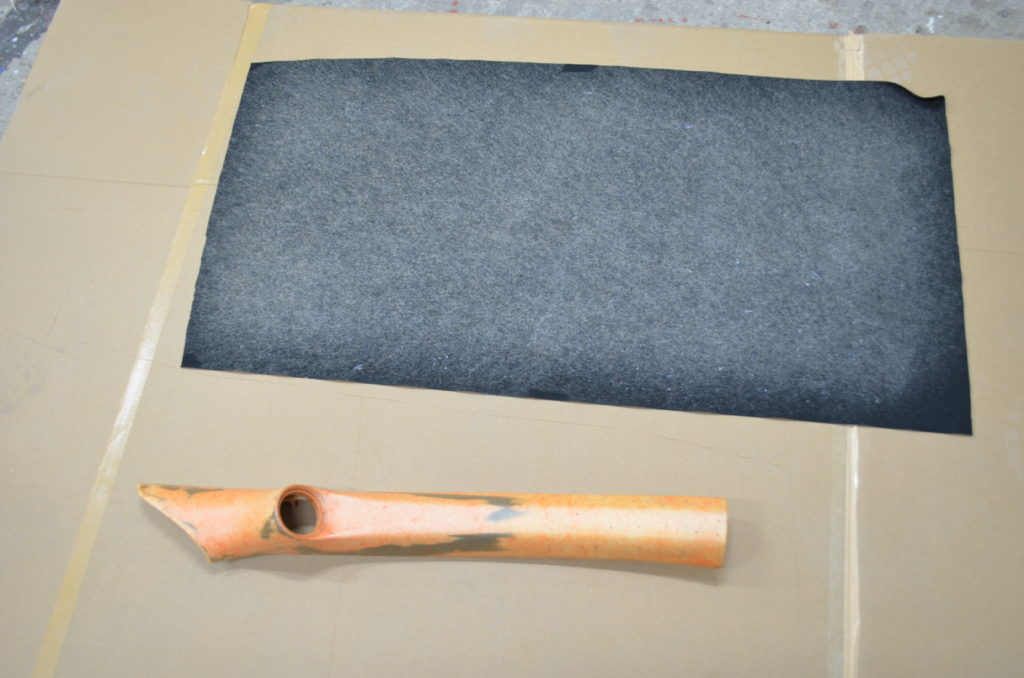
バラバラのうちに、各所デッドニングしておきます

インナーバッフルを作成
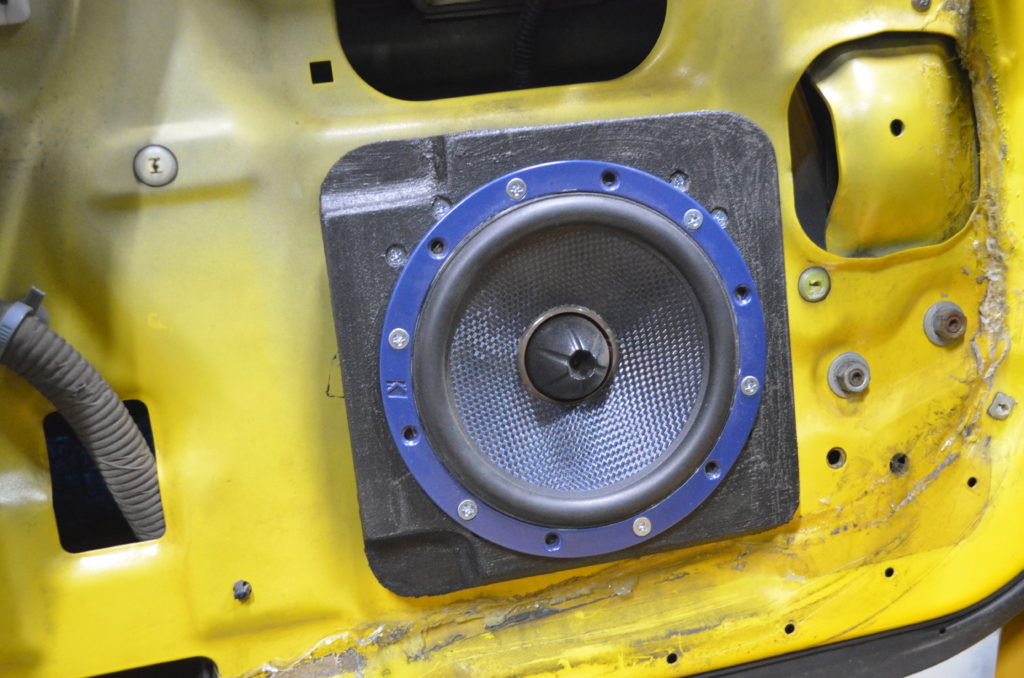
内張に合わせて削りを入れたら、制振塗料を塗ってミッドレンジスピーカー取り付け!

そろそろ夜も更けてきましたので、今日はここまで
では!