今回の作業はコチラ
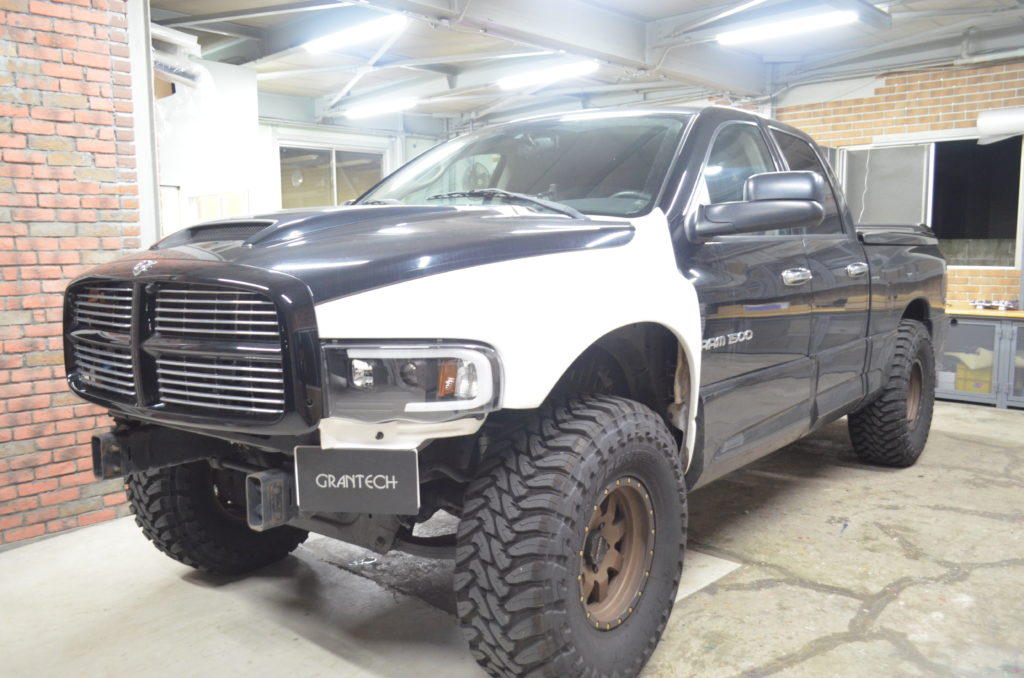
ダッジラム!
でかい!
タコマとは比べ物にならないくらい
でっかいです
今回は、今ついているスピーカーを使用し取付をリニューアルします

アルパインDLX-Z17PROを使っていますが・・・
ドアはインナーで、ツィーターは・・・
ダッシュボードに転がってました・・・
Z17PROのツィーターは重量があるので両面テープは辛いですね。
しっかり取付ましょう!ということで、作業開始!!
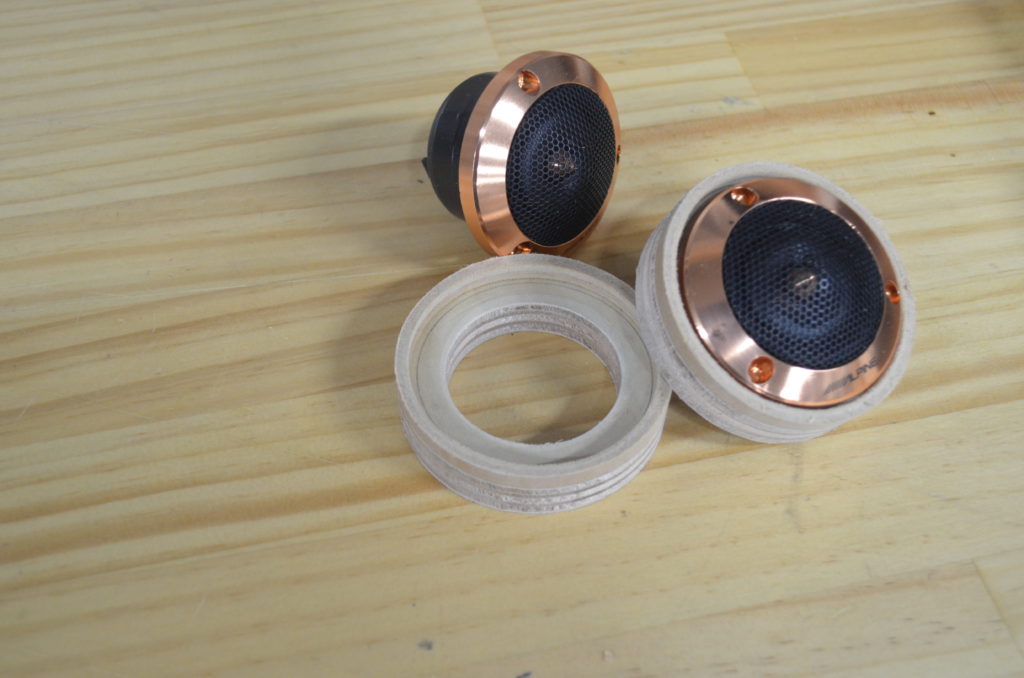
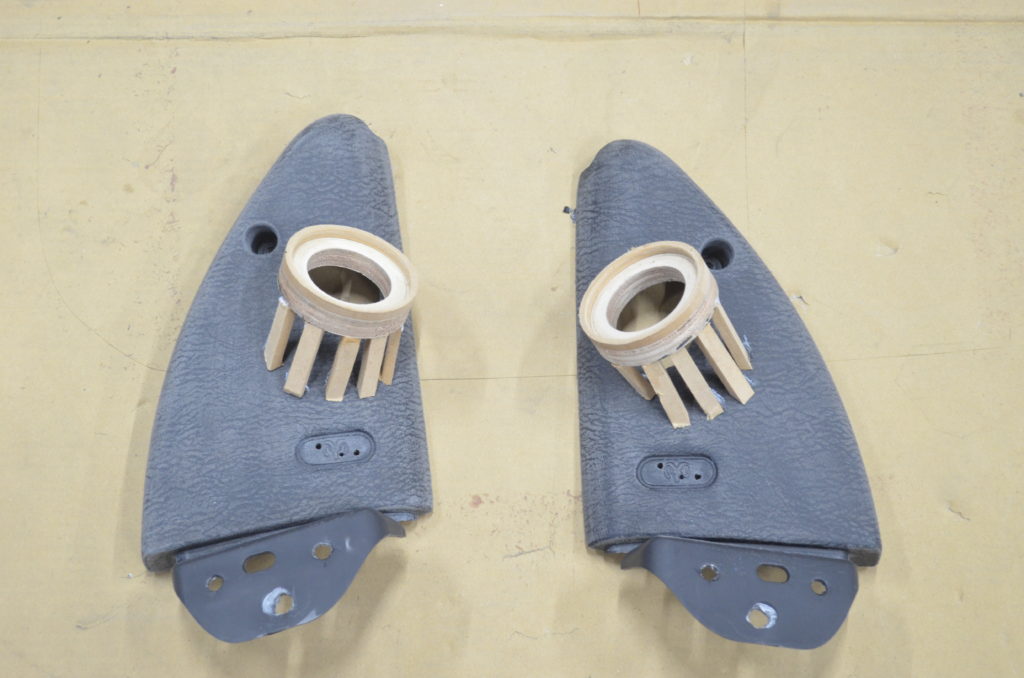
合板にてリングを作成!
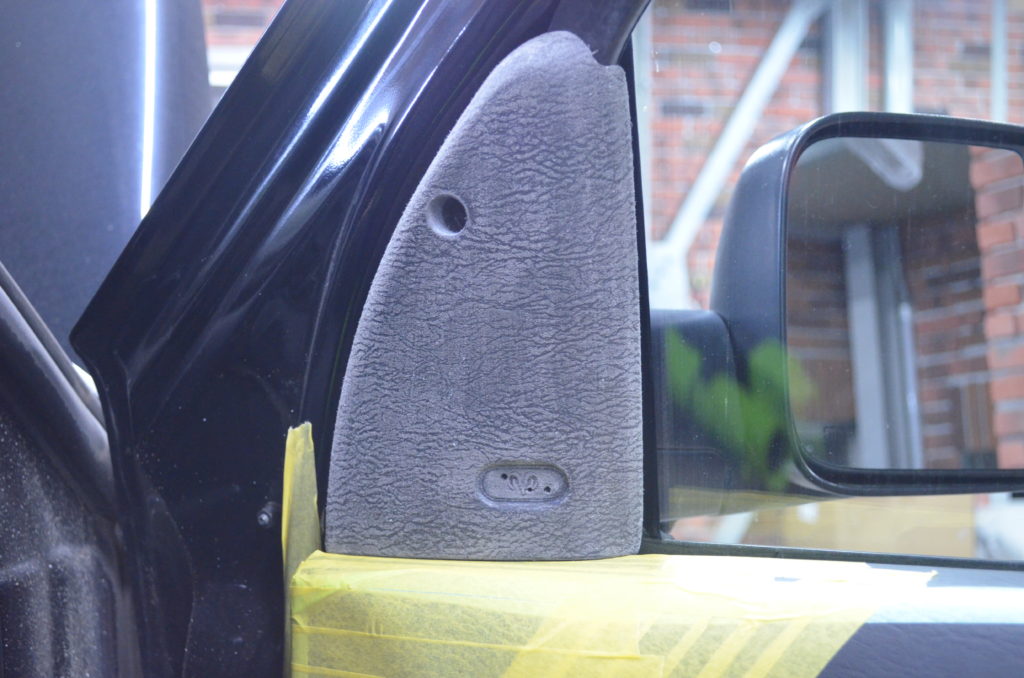
ドアミラー裏に取付ます
最適な角度で固定し、
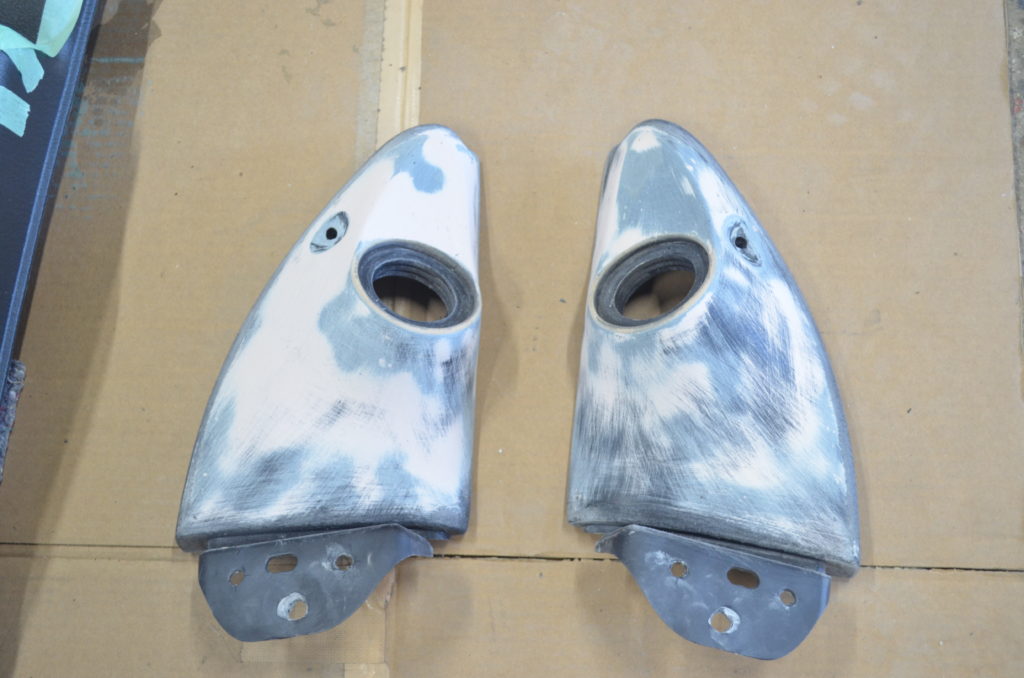
成形完了!

レザー貼って完成!
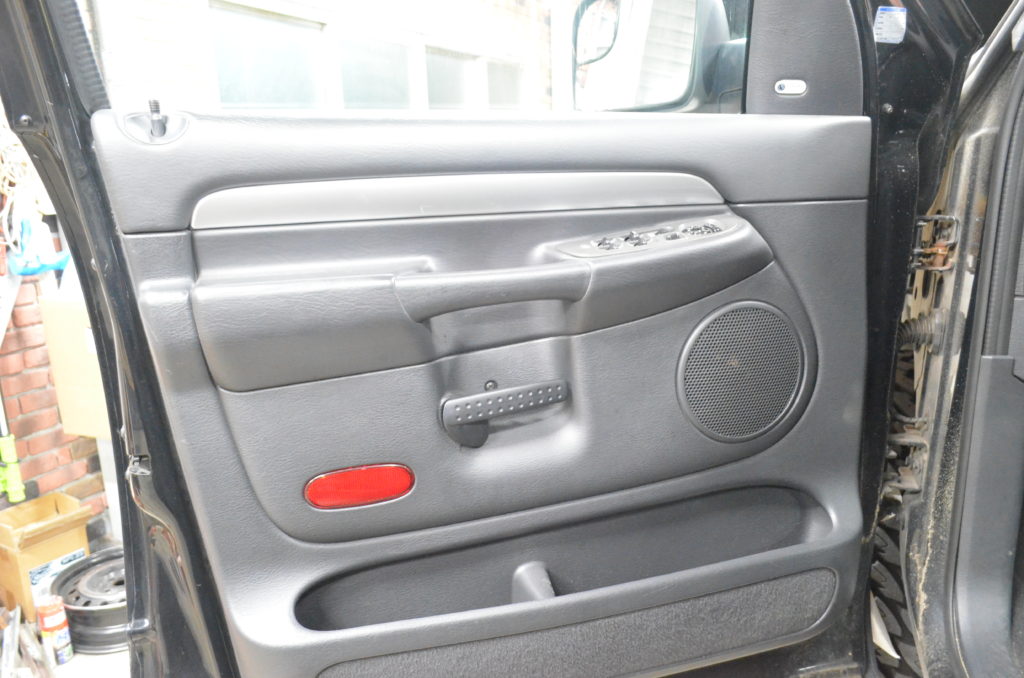
お次は
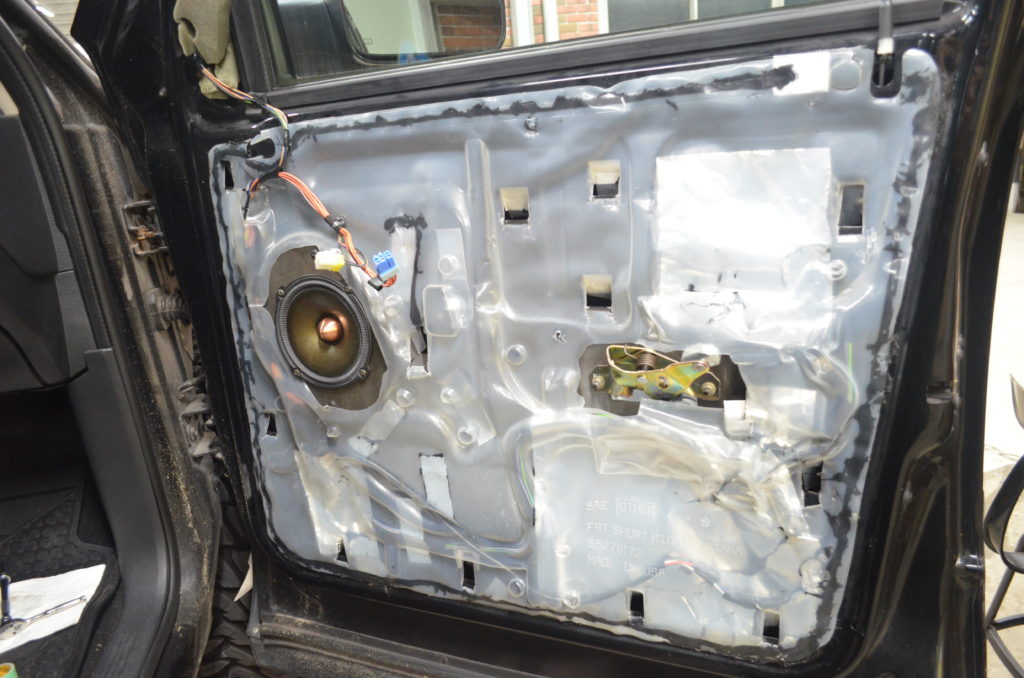

なにやら、貼ってありますが・・・
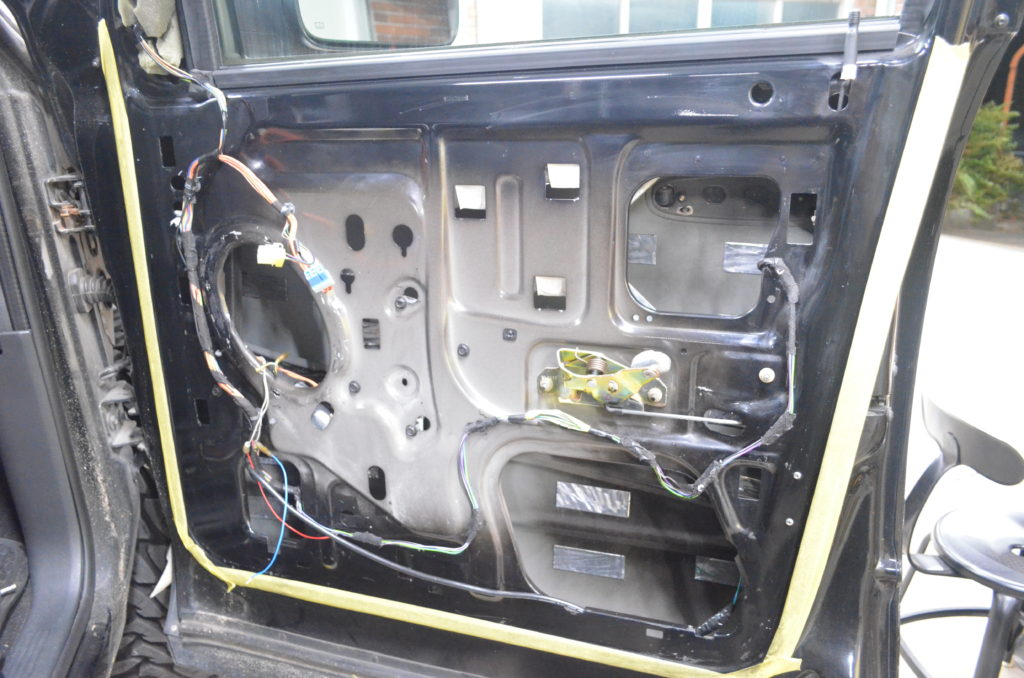
全部撤去して綺麗な状態に!
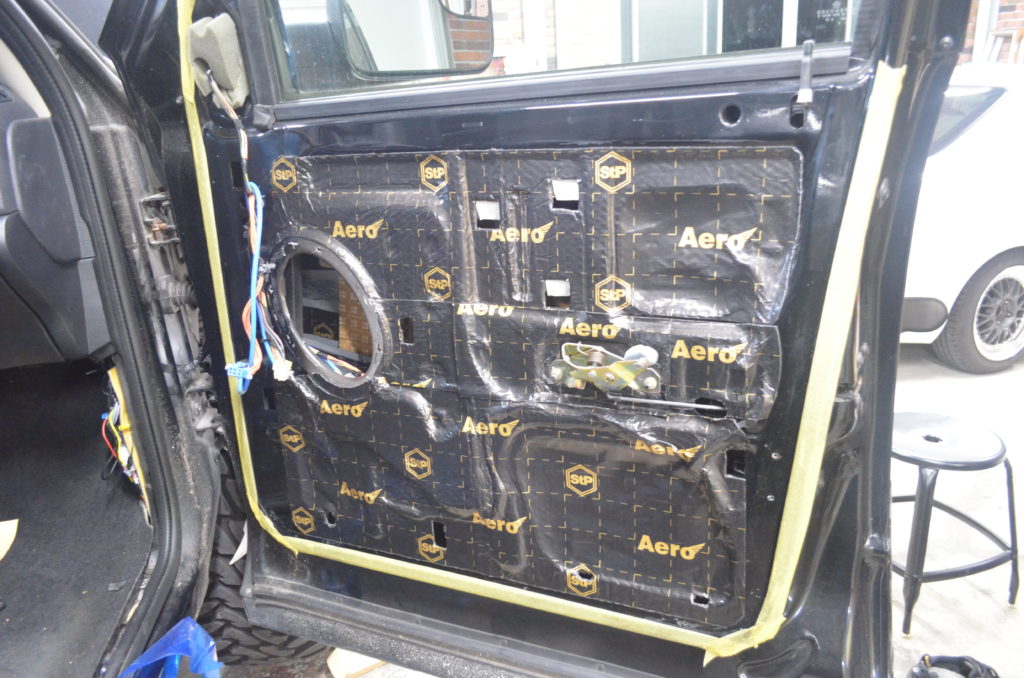
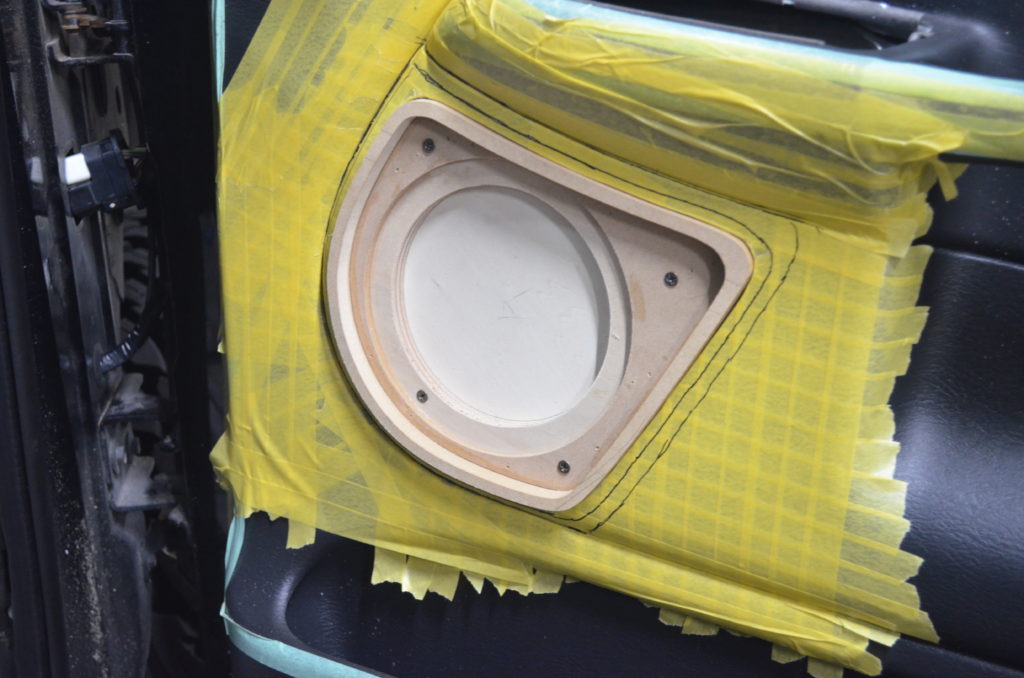
デッドニング!今回はSTPを使用しました!
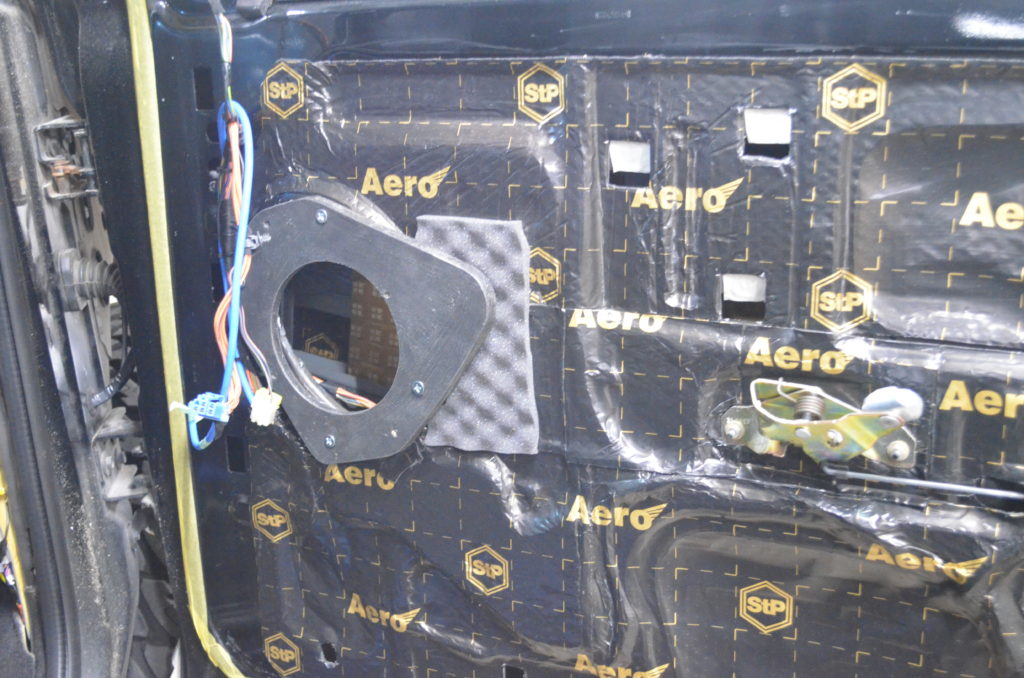
インナーバッフルも合板で作り直しです
もちろんスピーカーラインはすべて引き直ししました。(カナレ4S6を使用)
次は
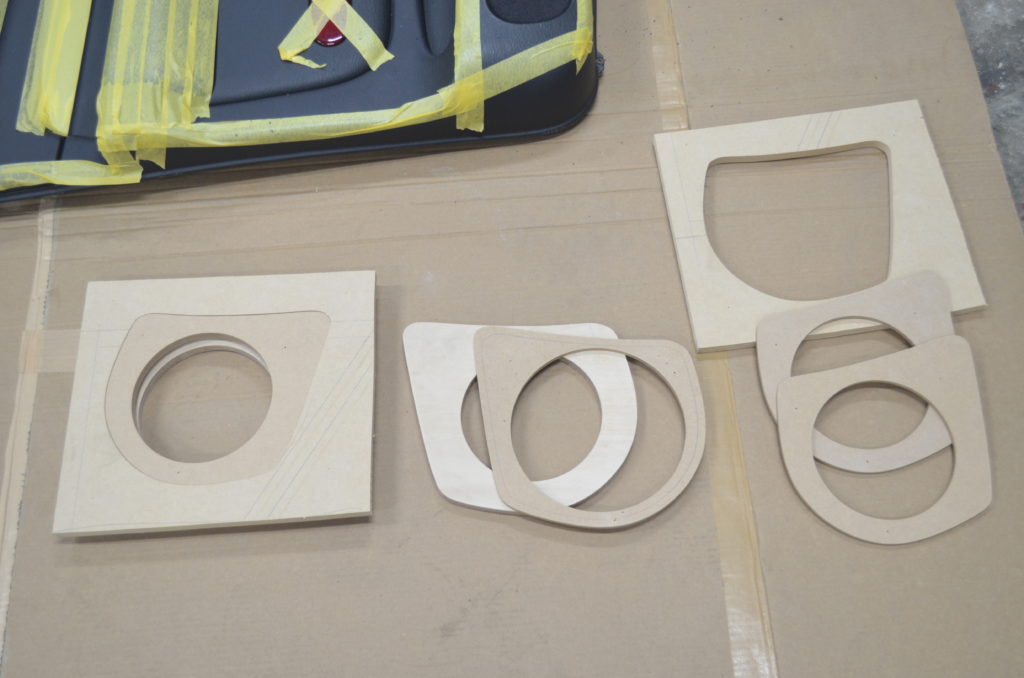

アウターバッフルを作成!
スピーカー取り付け部のみ合板を使用、まわりはMDFにて作成!
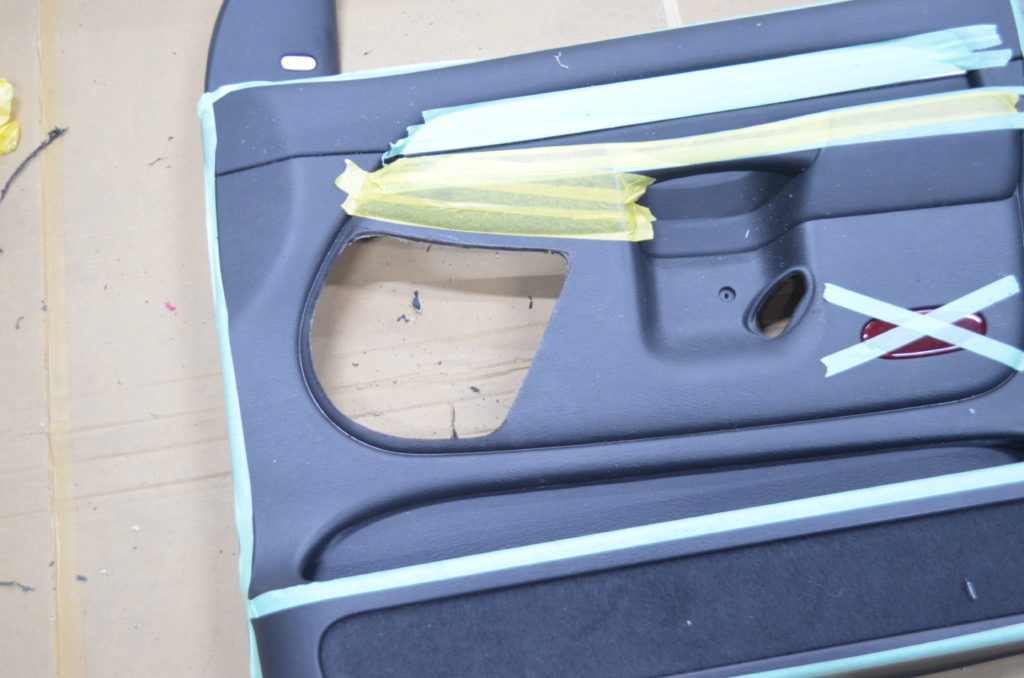
ドア内張をカット!
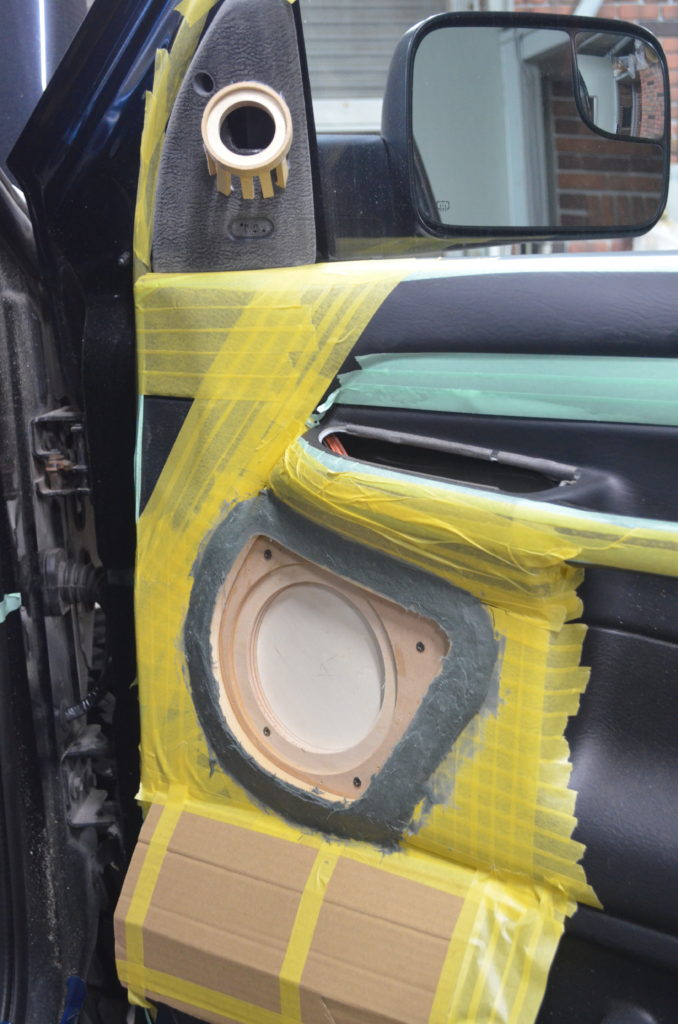
仮組して、
パテ盛り
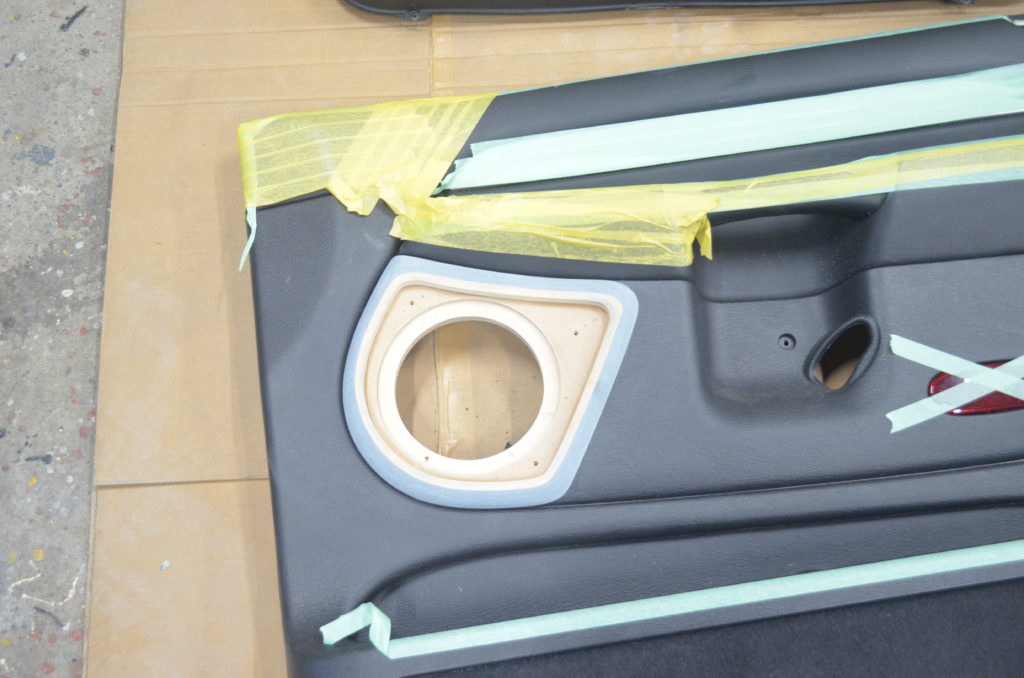
成形完了!
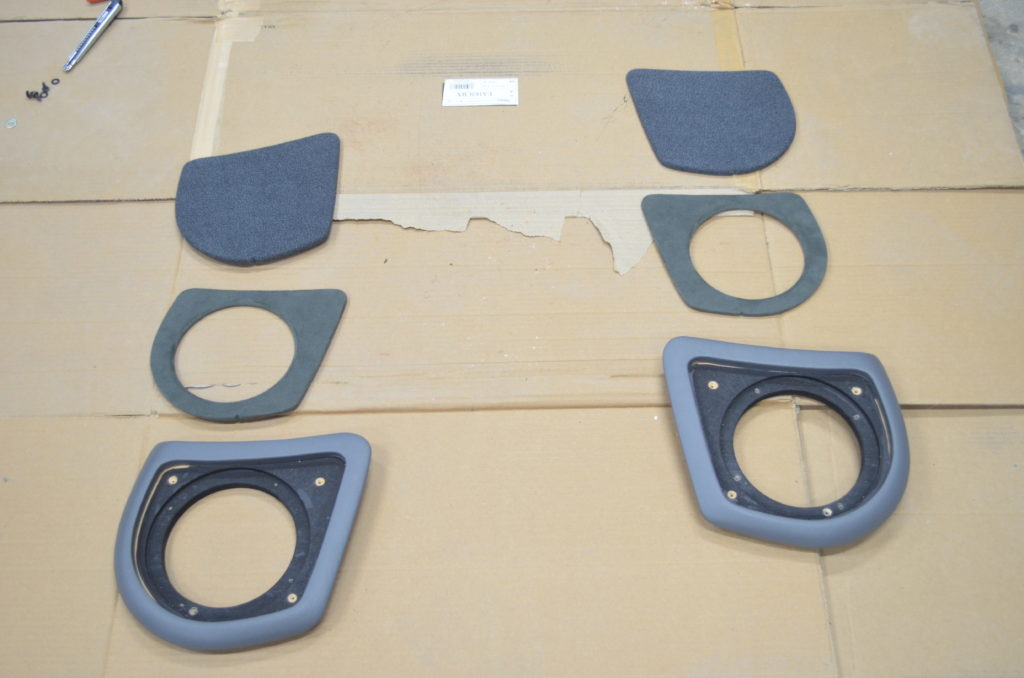
レザーを貼って、化粧板とグリルも作成します。
写真だと少し明るく見えますが、実物は濃いグレーのレザーです
化粧板

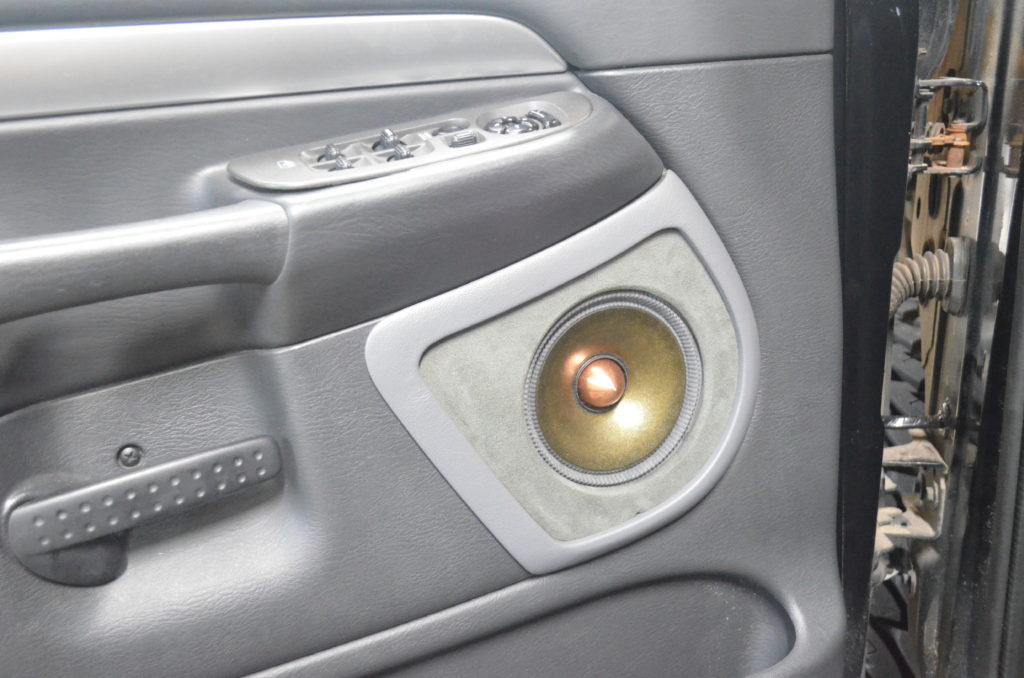
グリル!
見えませんが、パンチングネットが入っているので多少物が当たってもスピーカーはへっちゃらです!
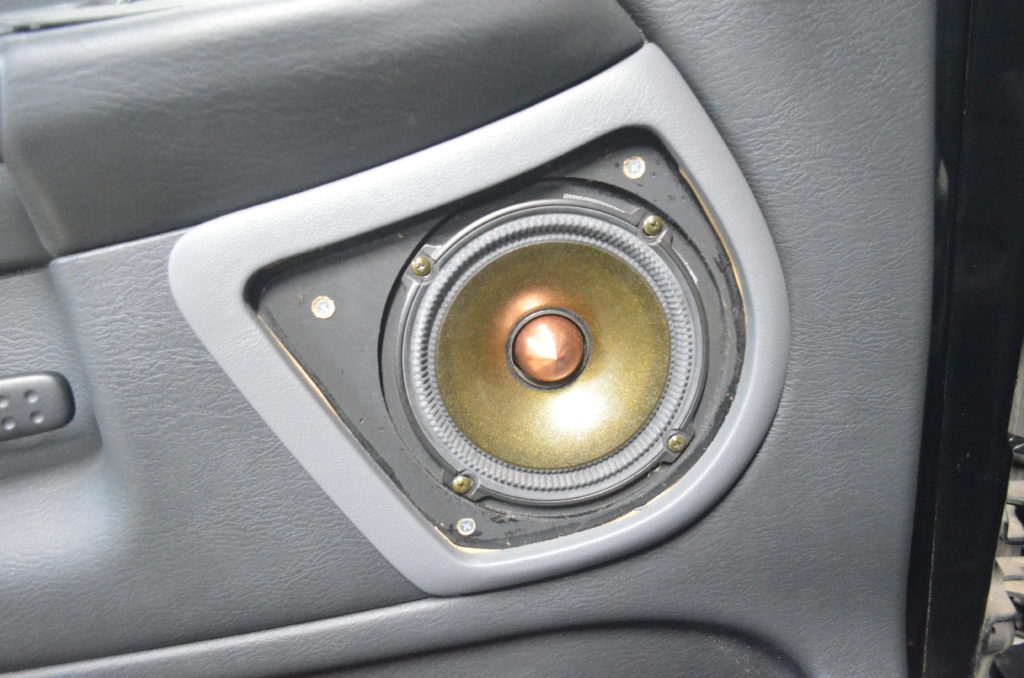
スピーカーのリフレッシュが完了しました!
次回はアンプ、パッシブネットワークの取付と、
センターコンソール修復します。
では、今回はここまで!